Christmas Wreath Workshop with Rachel de Thame and Arit Anderson

Everyone busy at a table set out in Rachel de Thame’s hall.

Some opportunities are too good to be missed! I’d been watching announcements for weeks, but couldn’t attend any of the dates offered. Then all of a sudden two people dropped out on the one day I was free. So this week I unexpectedly found myself driving to Gloucestershire to take part in one of Rachel de Thame’s first Christmas wreath-making courses. I can still hardly believe my luck!

I wish I’d taken a photograph of the path leading to the front door. It was lined each side with piles of evergreen foliage ready for the course. Mindful of the fact that this was Rachel’s home, I didn’t get my camera out. But it was obvious from the first glance that we were all in for a treat of a day! Stepping inside the front door, Rachel’s entrance hall was set out with a long table and buckets of flowers and foliage in all four corners. There was such an array of different foliage materials, much of it pruned from Rachel’s garden. I fell in love with the pink hydrangea heads and orange rosehips straight away. I also decided on using the skimmia kew green as a background for my wreath.

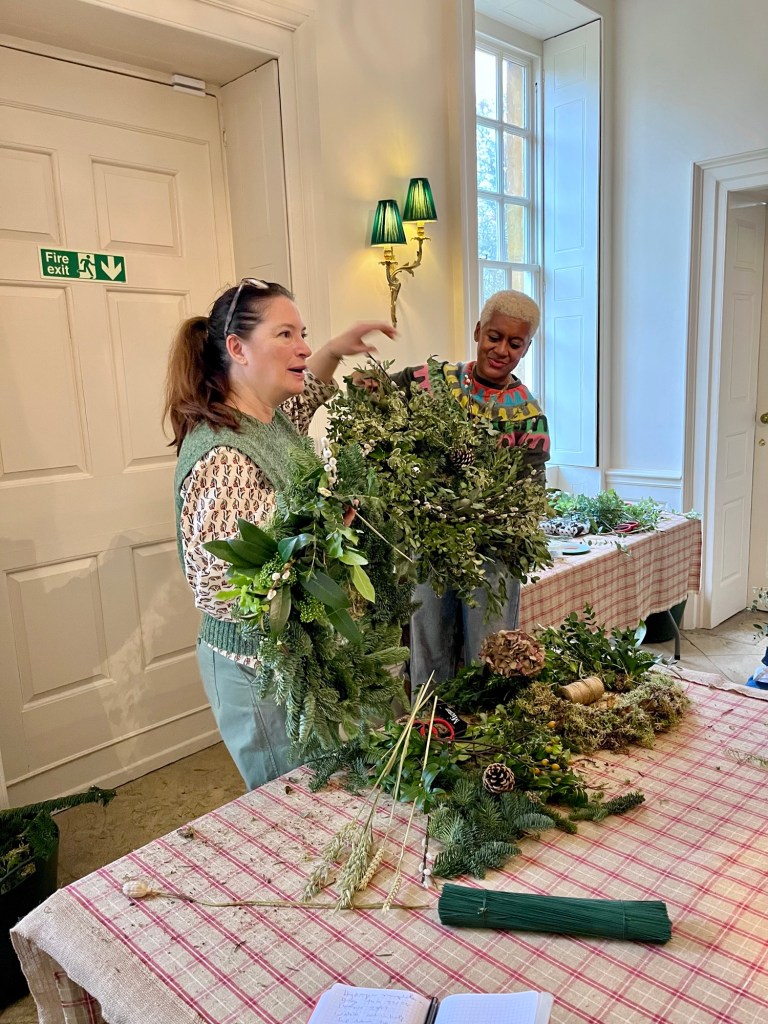
Rachel first demonstrated how to make a wreath using a copper ring and moss attached with reel wire. Rachel was using wire she’d saved from previous years and recycled. The base of the wreath was entirely conifer sprays trimmed to about 5” and attached first to the left and then the right all the way round the circle. Flowers, berries, and seed heads could then be attached on top. Arit Anderson who was guest host for the day, demonstrated making a wreath using the same copper ring, but with moss attached with twine. Arit’s wreath was a looser design using twigs, seed heads, grey pussy willow and grasses. Arit explained the wreath could be safely composed after Christmas, as all the components would eventually compost down. The copper rings could be saved for another year. Even the ribbon we used was biodegradable.

Rachel’s wreath, showing the fir sprays being attached to the mossy base.
Arit with the mossy base attached with compostable twine.
Arit displaying one of the wreaths in the window.
Rachel and Arit with fir cones, dried hydrangea heads and foraged grass and poppy seed heads.

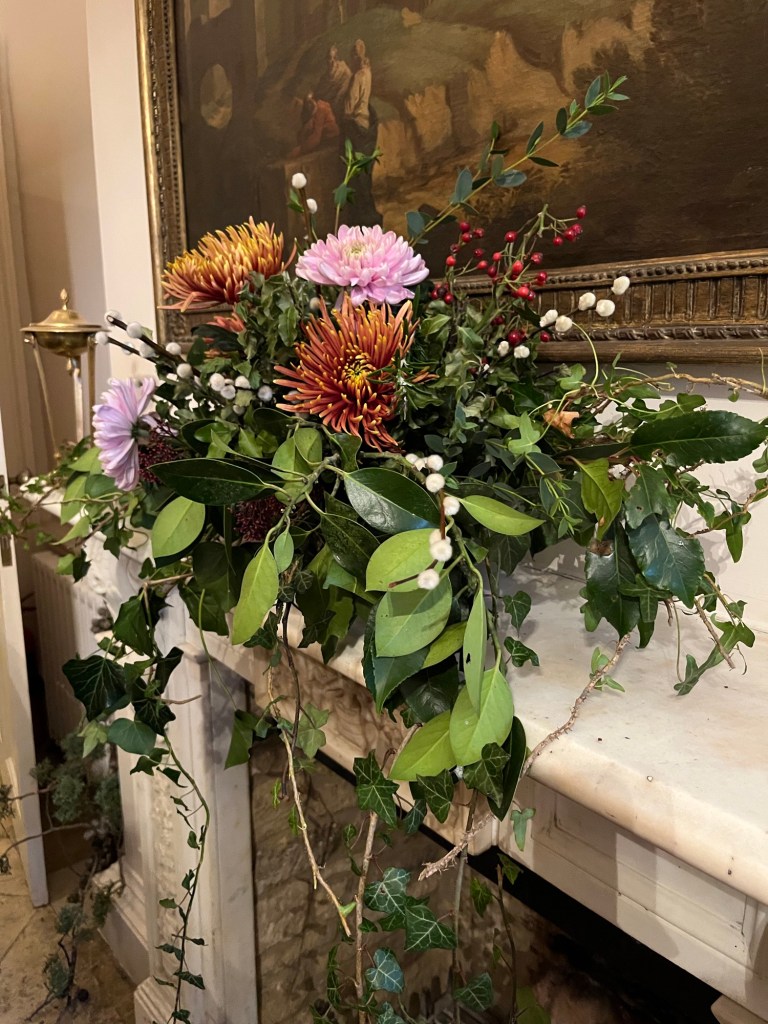
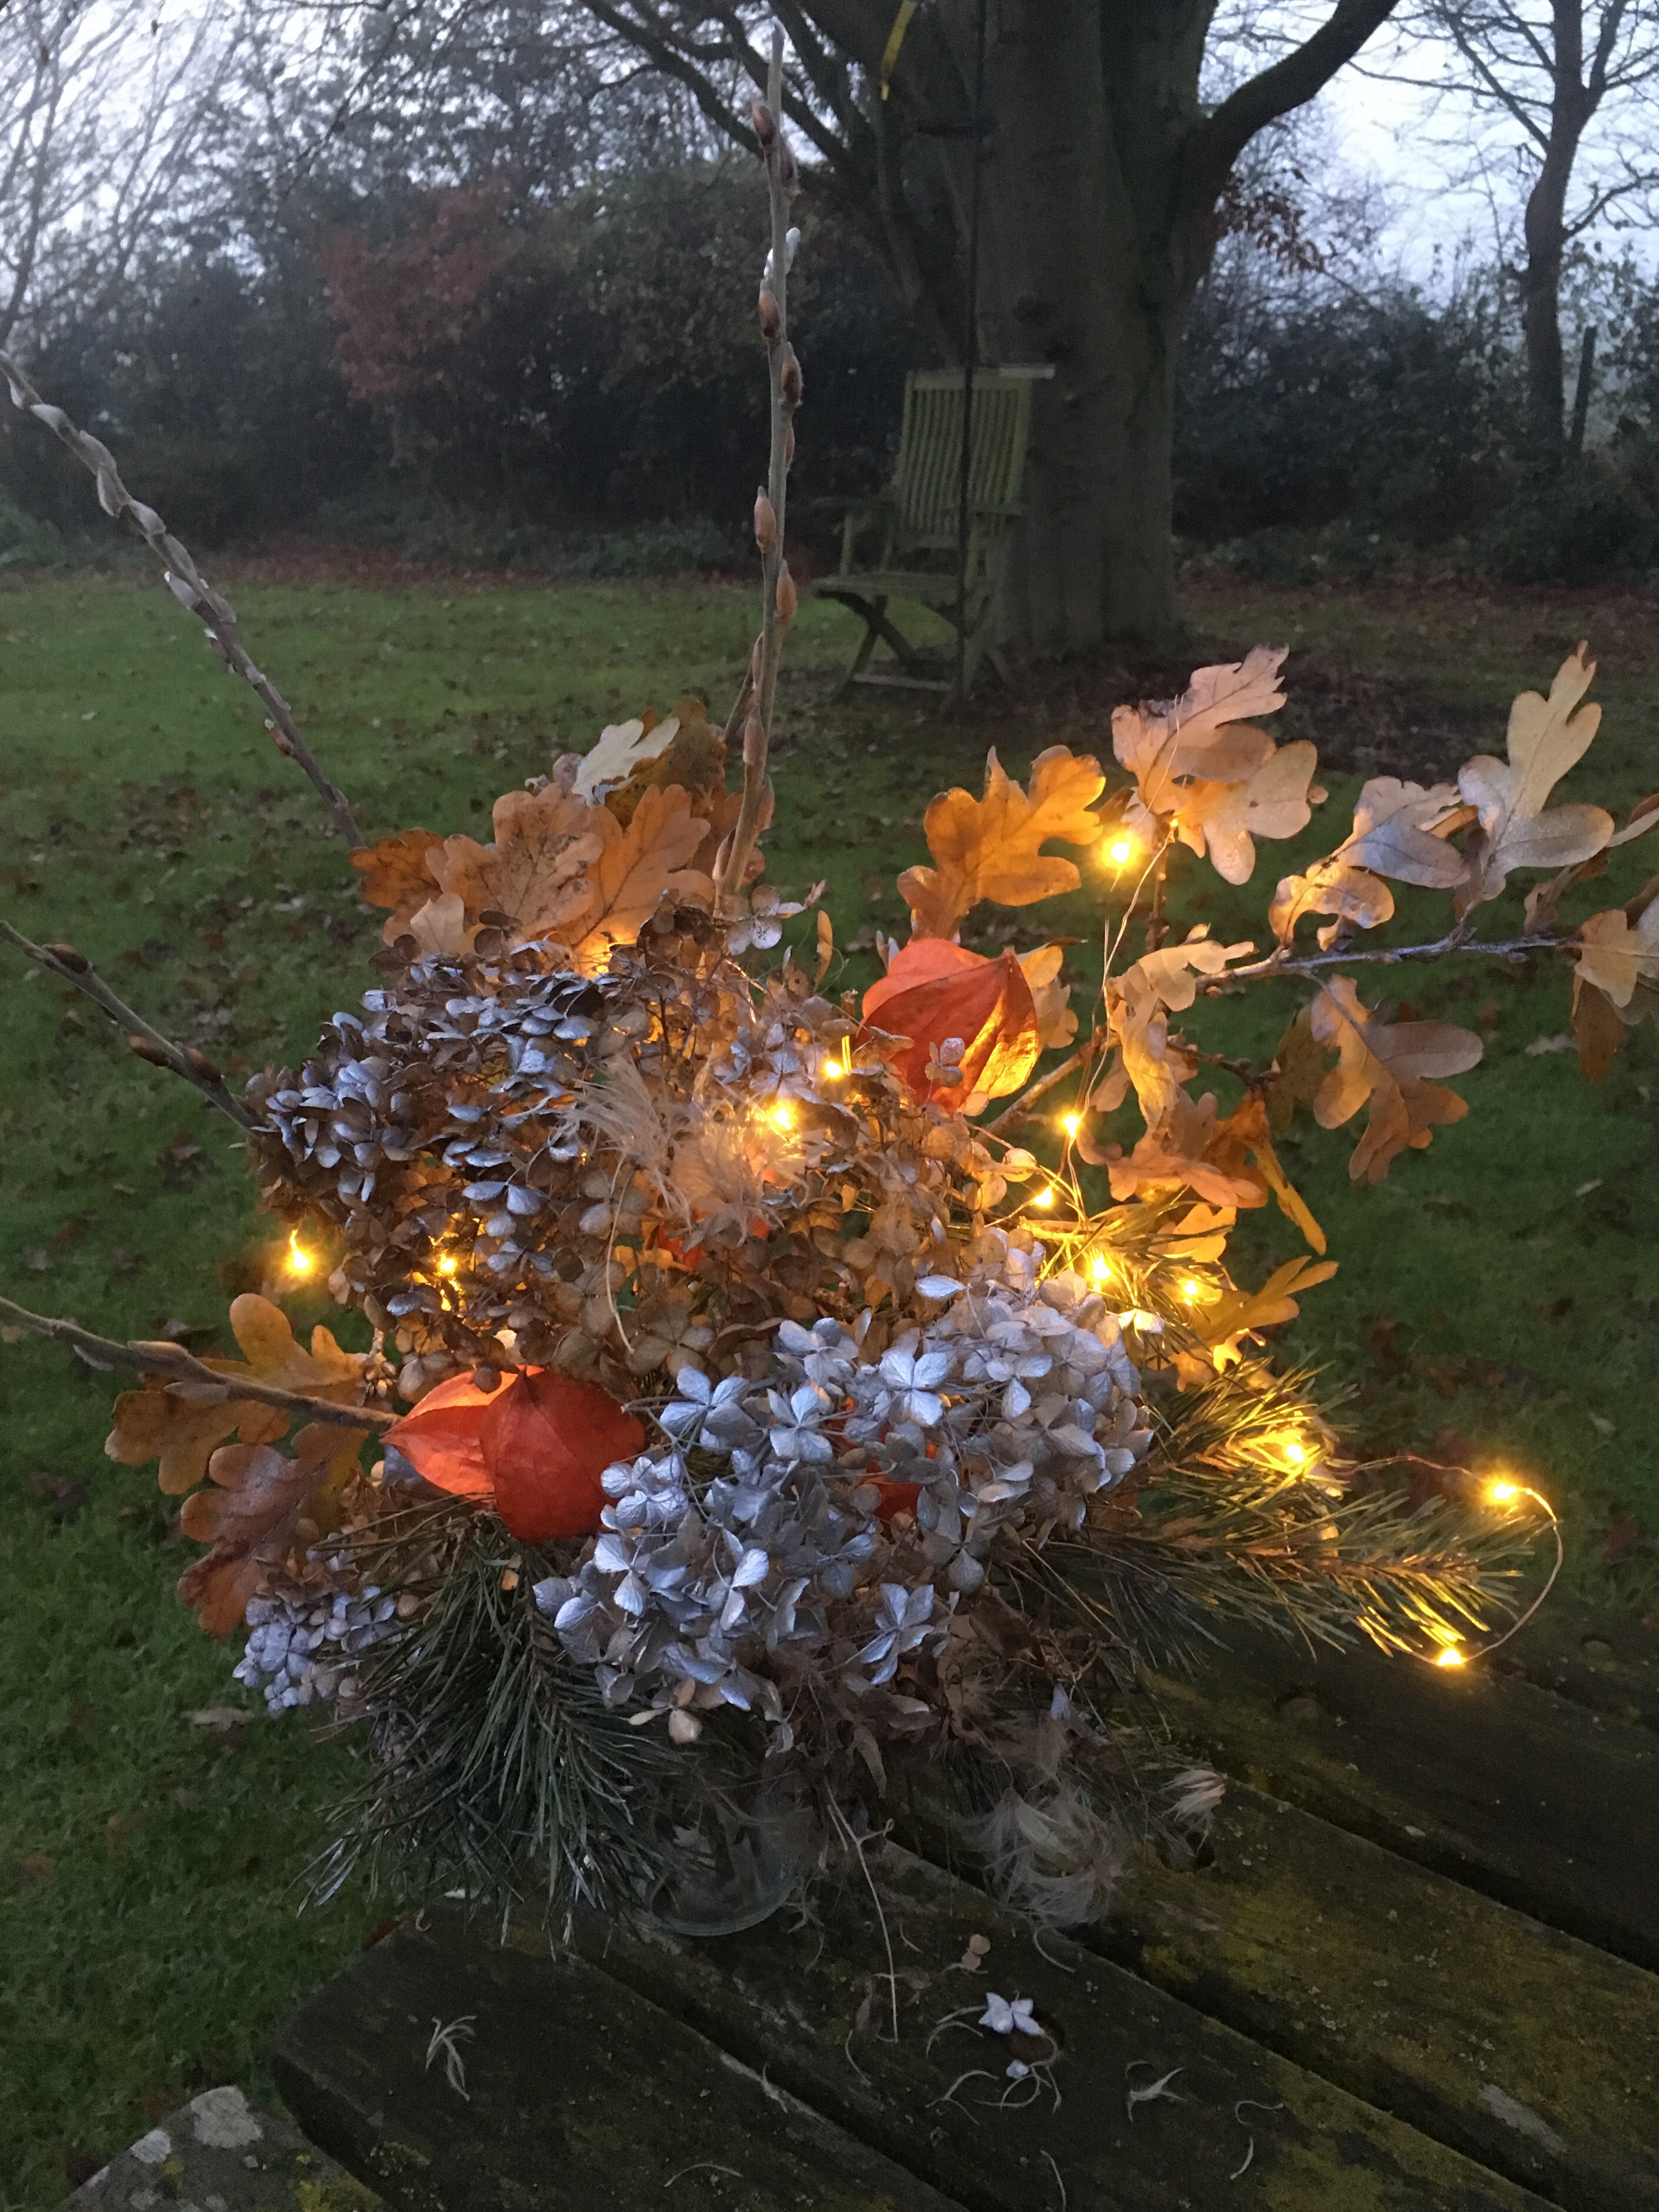
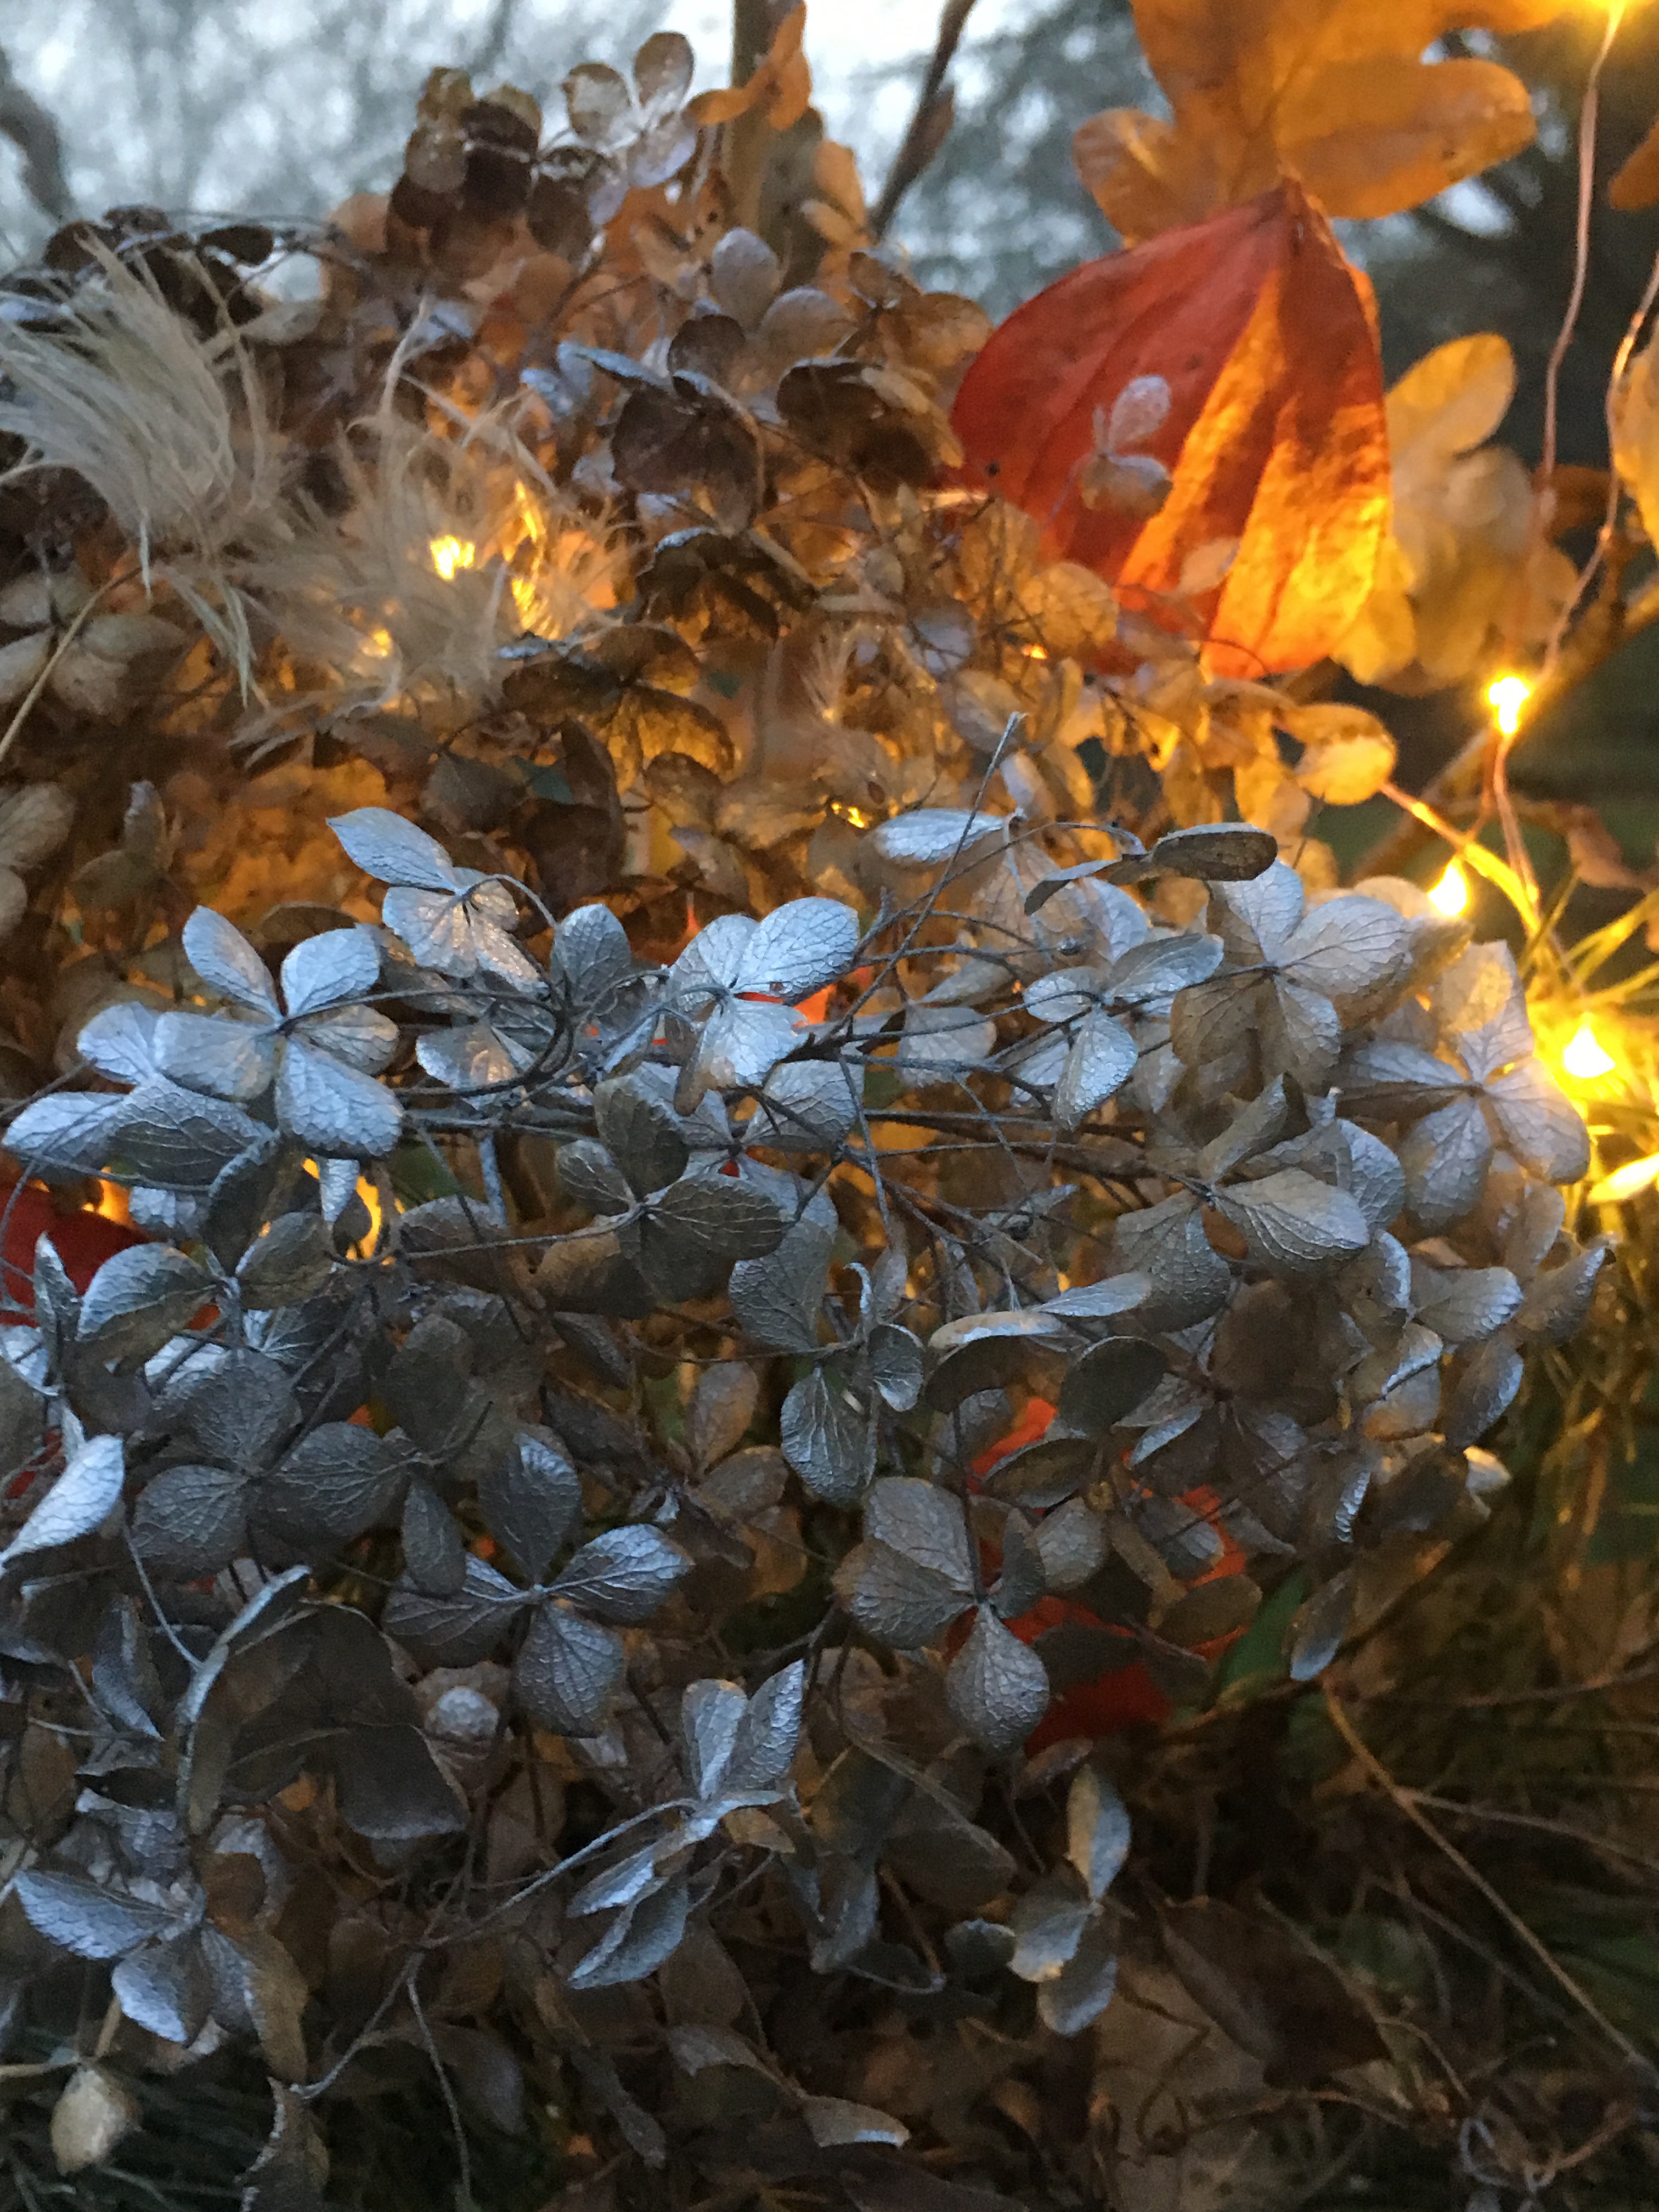
Before getting started on our own wreaths, Rachel demonstrated how to make an arrangement for a fireplace. I must admit, I wanted to take both the arrangement and the fireplace home!

Surprisingly, that huge arrangement all started with a relatively small glass bowl. Rachel rolled up some chicken wire and used florist tape to attach it to the bowl. She added long lengths of ivy, Portuguese laurel and pittosporum. Then colour was added with spray chrysanthemums and grey pussy willow. I have walked past endless amounts to trailing ivy in my garden and never realised it could be turned into anything as beautiful as this. But now, I’ll have a go!

Our day included a three course lunch. We had home-made soup, followed by a buffet of amazing salads, followed by chocolate brownies and cream. Plenty of tea was also consumed! The table in Rachel’s kitchen was set out with such style. I really enjoyed every second I was there! Everything was literally perfect.

Beautiful flowers set out on the table

Best of all though, I had the company of the famous Woodapuss sitting next to me. I’d seen her many times on the television. I can report that she is as lovely in real life as on the TV. Such a calm and happy cat, very affectionate. I was quite happy to sit there making a fuss of her. A highlight of my day.

After lunch we wandered around Rachel’s garden foraging for materials to use for our wreaths. It was such a treat to see the walled garden where Rachel grows her tulips and cut flowers. The walls are such a gorgeous soft, creamy colour, and we found holes were solitary bees had made nests.

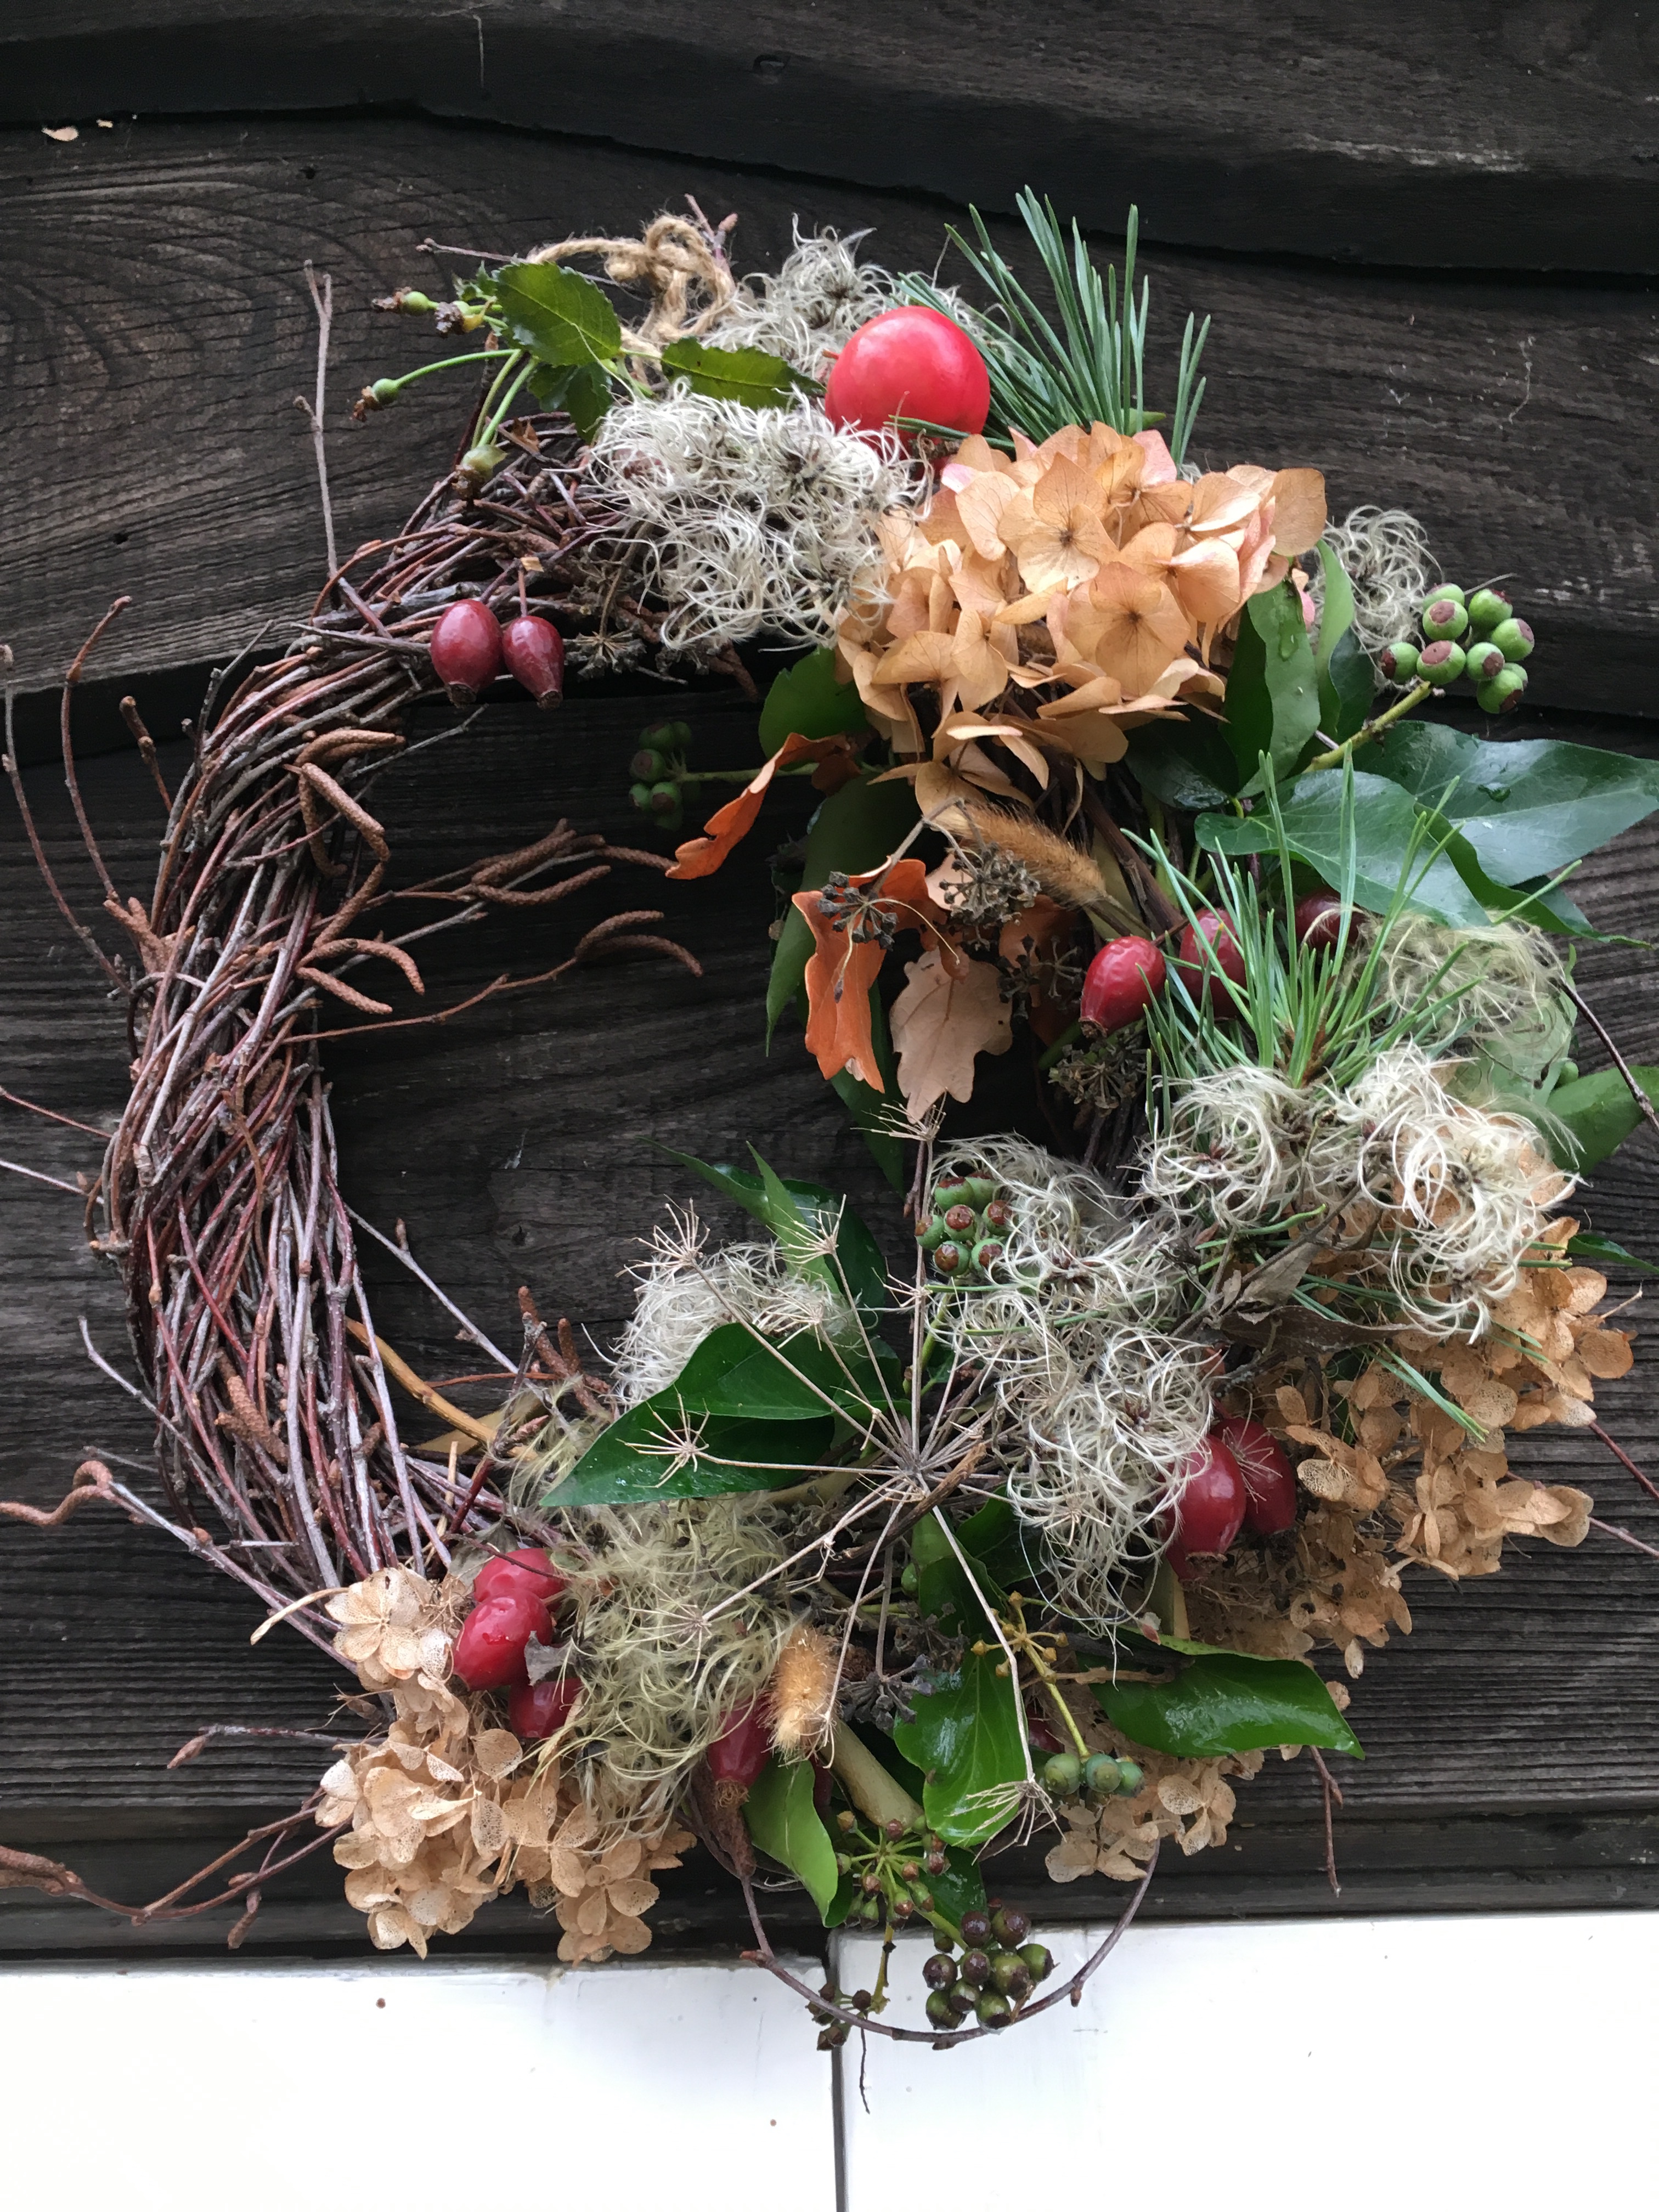
Back to the house, and we all made a start on our wreaths. I decided to go for a base of eucalyptus and rosemary, for the scent. Then I wove rosehips in to the mix, and finished with two hydrangea heads. Arit showed me how to gather the hydrangea heads into a ball if they were too spread out, and tie them at the base. This made a much better focal point. We then chose a gorgeous burgundy ribbon to finish off.

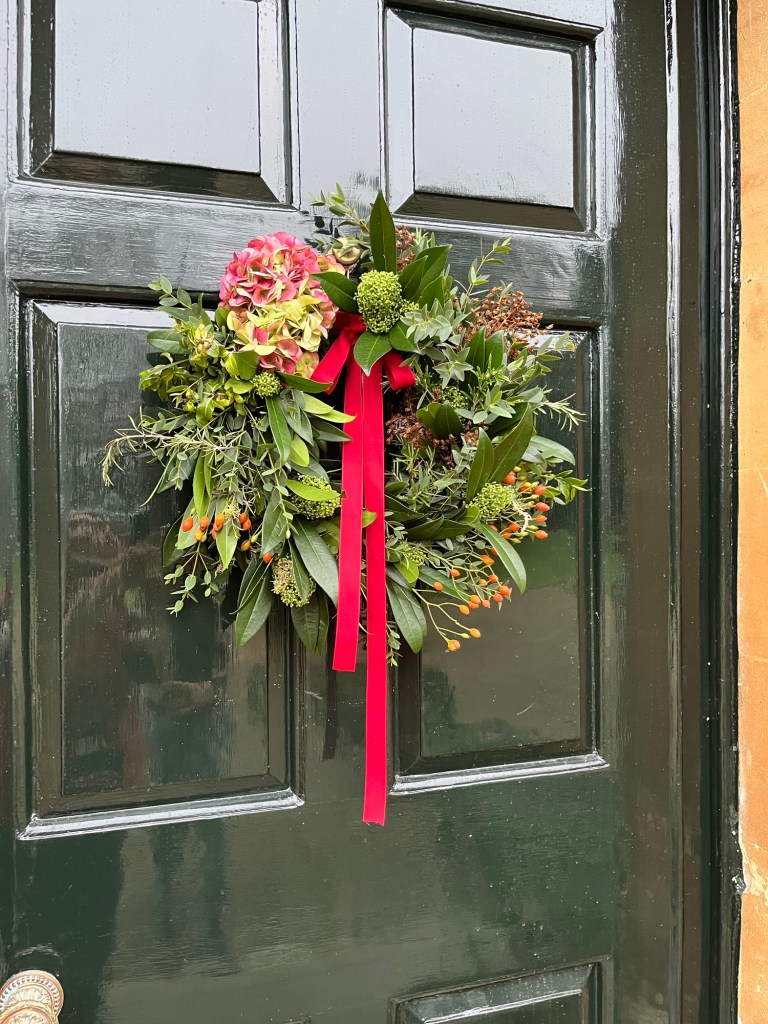
And here it is! Displayed on Rachel’s front door which is painted a deep glossy green.

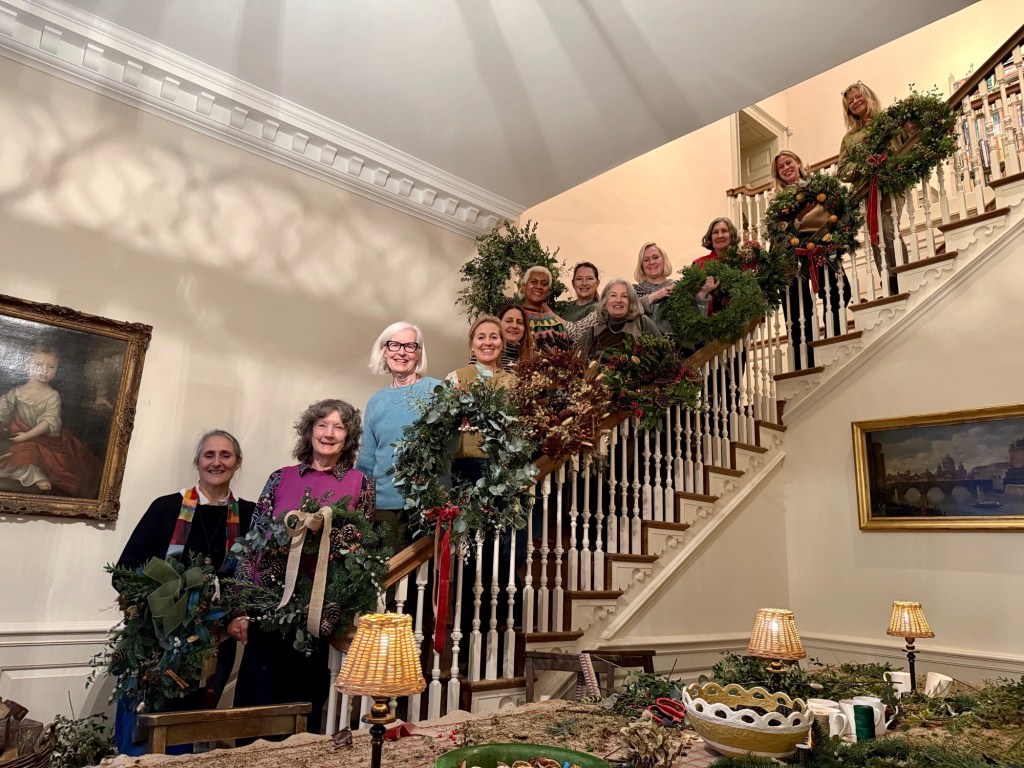
What a great day we all had! I learned many new techniques in floristry, made some new like-minded friends, fussed Rachel’s cat, and went home with a beautiful wreath for my own front door. A really wonderful, perfect day.

Thank you Rachel and Arit for such a happy and memorable event! A truly special start to our Christmas festivities.

Thanks for reading my blog. Rachel has plans for lots more courses and events at Broadwell Manor in 2025. To find out more contact info@broadwellmanor.com. Or follow on Instagram @racheldethame.

Turning Garden Twigs into Christmas Decorations

As a few of you know, I talk on the radio once a fortnight, chatting about what I’m doing in my vegetable and cut flower plot. This week, I tried valiantly to make a few twigs from my garden sound exciting. It really tested my powers of description! Anyway, if you were listening in, here are the photos to go with my interview with Ben Jackson. I was waving my arms around, explaining how you can gather foliage and off-cuts from the garden, make them into a twiggy bouquets, add lights, and plunge them in a pot. I do hope it enthused a few people to have a go and make their own Christmas decorations.

Willow stems, dried oak twigs, pine foliage and Hydrangea Annabelle flower heads with orange lanterns, Physalis alkekengi.

I decorated the hydrangea heads with some florists’ silver spray from Oasis. You only need a tiny amount.

Some old man’s beard, wild clematis vitalba adds a fluffy texture and movement to the arrangement.

Mouldable copper wire fairy lights from supermarkets only costs a few pounds. Mine came from Wilkos and use rechargeable batteries.

Tiny flowers from the hydrangea heads flutter down around me. I scoop them up and use them as table decorations. They are like nature’s confetti.

Wire lights can be threaded through dogwood stems and any greenery from the garden. This ‘bouquet’ of twigs is pushed into a plant pot of garden soil and stood by the front door. It looks like a container full of expensive plants, but in truth, it has cost me nothing. Stems will stay fresh until after Christmas due to cold and wet weather. They can be composted in the new year. So there’s no waste to go into bins.

I’ve used pine, spare Christmas tree stems (the tree was too tall), ivy, dogwood and willow to give height, and skimmia at the front. You could pop some hellebores and white heather either side to cover the base of the pot. If you have plastic pots, why not cover them with hessian to give them a natural look.

Here’s some more ideas using willow. Wind the willow or dogwood into a rough circle and keep adding more stems. Eventually you can pull it into shape and secure it with thin lengths of willow. Kept dry in the shed, wreaths will last for years. Each Christmas, I add new foliage, pine and rosemary for scent, rosy-hued hydrangea heads and clematis seeds. These are simply fed in amongst the willow stems and secured with string or florists’ reel wire.

You can add rosehips and crab apples to the willow frame. Birds tend to enjoy them, so I have to replenish the decorations every day. We were very excited to see some very small birds, possibly long-tailed tits enjoying the clematis seeds. It becomes almost a cross between a Christmas decoration and a bird feeder.

Add whatever you can find in the garden and hedgerow. In this silver birch wreath, I’ve added ivy, with green and black ivy berries, and dried cow parsley seed heads. The wind sometimes blows the clematis across the back fields, but there’s plenty more in the potting shed, ready for the festive season.

These willow stems have been folded over to form a heart. Hold ten stems in one hand. Bend half of them over and tie in the middle. Bend the other half over to form the other side of the heart, and tie in. Tie further up the stems to keep the heart shape secure. Disguise the ties -or the mechanics, as we call them- with a mini bouquet of foliage. Here I’ve used Holly, ivy, Garrya elliptica, hydrangea flowers and a few crab apples.

Willow wreaths don’t always need any decorations at all. A pretty ribbon is all that’s used on this wreath for a simple shepherd’s hut.

I decorate five bar gates around the plot. A single heart is often all that’s needed. It will cheer any Christmas Day revellers, walking along the lane. From this gate we can hear the church bells ringing. The sound carries far across the fields. It’s a wonderful spot to stand and listen for a few moments, mug of tea in hand.

Let me know what decorations you are putting up in your house and garden this year. Will it be old favourites, like mine, or something new? Get in touch and let me know, and thanks, as ever, for reading. Today, I’m celebrating my milestone 100,000 blog visitors. When I started writing, I thought just a handful of people might see my posts. I’m absolutely thrilled to see 100,000 have read about my little plot. Have a great weekend everyone.

Links:

Listen to Radio Leicester, Christmas decorations, at 3.16.57 on the timeline on BBC Sounds https://www.bbc.co.uk/sounds/play/p08ymt0t

I learned how to make my wreaths at Common Farm Flowers with Georgie Newbery. Georgie is running online courses and sells wreath -making kits.

https://www.commonfarmflowers.com/collections/workshops

I wrote about Georgie’s courses here: https://bramblegarden.com/2020/07/01/online-hand-tie-posy-course-with-georgie-newbery/

There’s also lots of Christmas recipes on the blog. Just scroll down to view them.